My rescue Yorkie, Penny, came to me with paws that looked like cracked leather. She had spent four years in a puppy mill on rough concrete, and her pads were so dried out that she would stop mid-walk and hold one foot up. South Florida pavement in July does not help matters either. The moment I realized those cracked paws were causing her real discomfort, I started researching, and eventually settled on a six-step routine that healed her pads in about three weeks and has kept them soft ever since.
Dry, cracked paw pads are one of those problems that look minor until they are not. A surface-level rough pad is just uncomfortable. A deep fissure that reaches the dermal layer can bleed, get infected, and become a real veterinary issue. Catching and treating cracked dog paws early at home is absolutely the right move, as long as you know what you are looking at and which steps to follow. I am going to walk you through exactly what I do, in the order I do it, every night before Penny goes to her bed.
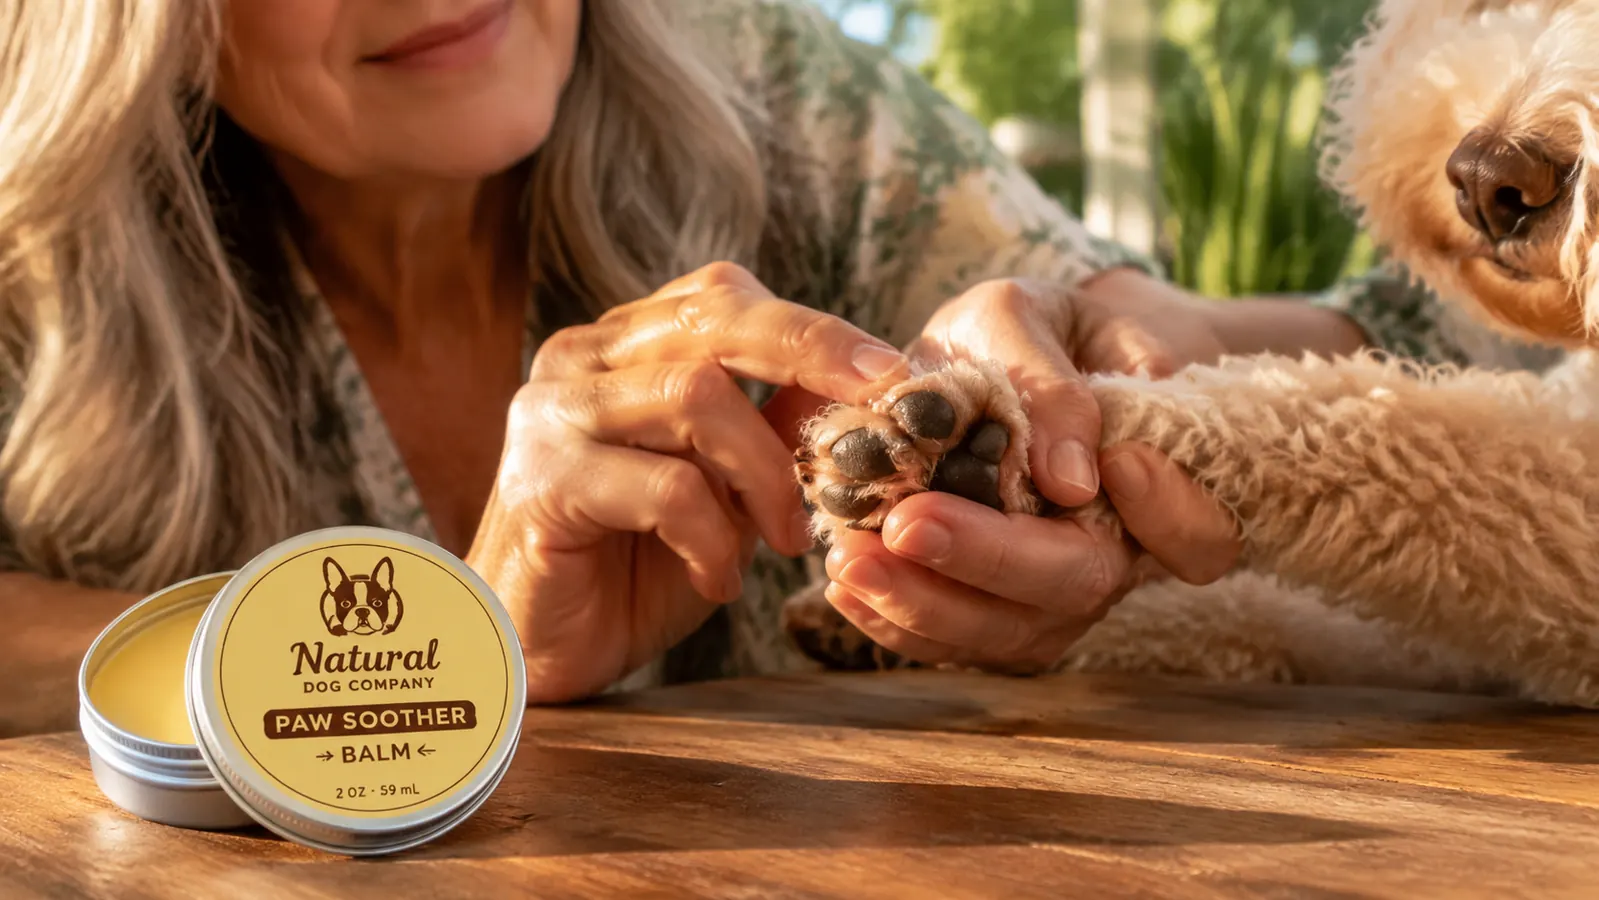
If your dog's paws are already cracked and rough, this is the balm I use every night on Penny's pads.
Natural Dog Company Paw Soother is 100 percent plant-based, lick-safe, and has over 56,000 reviews on Amazon. It is the product I reach for at Step 4 of this routine, and the one thing I keep stocked in a three-pack so I never run out.
Amazon Check Today's Price on Amazon →Why Dog Paws Crack and Dry Out in the First Place
Before you can treat cracked paws properly, it helps to understand why they crack. Dog paw pads are made of thick, layered skin designed to handle rough surfaces, but that toughness has limits. Heat is the biggest culprit in warm climates. Pavement in South Florida hits 140 degrees on a summer afternoon, and even a five-minute walk on it strips moisture from the outer pad layer. Cold and salt (for those in winter climates) do the same thing from the other direction. Low humidity indoors from air conditioning, which runs constantly here from April through October, also pulls moisture out of soft tissues including paw pads.
Older dogs and rescues with a history of poor living conditions are especially prone to chronically dry paws. Penny's pads were already in rough shape when she arrived because she had never had regular paw care. Her pads had built up thick, dead surface layers over the years, which sounds protective but actually traps dryness underneath and makes cracking worse. Regular exfoliation and moisturization interrupts that cycle. Allergies and nutritional deficiencies can also cause or worsen dry pads, so if your dog's paws are cracking despite consistent care, a vet visit to rule out underlying causes is worth the trip.
Step 1: Assess the Severity Before You Do Anything Else
Not all dry paws are the same, and knowing what you are working with determines what you do next. Pick up your dog's paw and look at the pad surface in good light. Mildly dry paws have rough texture and maybe a few thin surface lines, but no visible breaks in the skin. Moderately cracked paws have deeper lines and may feel leathery, but there is no bleeding or visible raw skin. Severely cracked paws have fissures deep enough to see pink or red tissue underneath, and they may already be bleeding slightly when the dog walks.
Mild to moderate dryness is fully treatable at home with the routine below. Severe cracking with deep fissures, bleeding that does not stop within a few minutes, signs of infection such as swelling, warmth, or discharge, or a dog who is limping and refusing to bear weight all warrant a call to your vet before you proceed with home treatment. You may need a prescription antibiotic or antifungal if the cracks have become infected. This guide covers mild to moderate, which is the majority of cases.
Also check between the toes. Cracking is most common on the main pad surface, but the skin between the toes can also become raw and irritated. If you see redness or swelling between the toes specifically, that pattern often points to allergies or a yeast issue rather than simple dryness, and again, a vet check is the right first step.
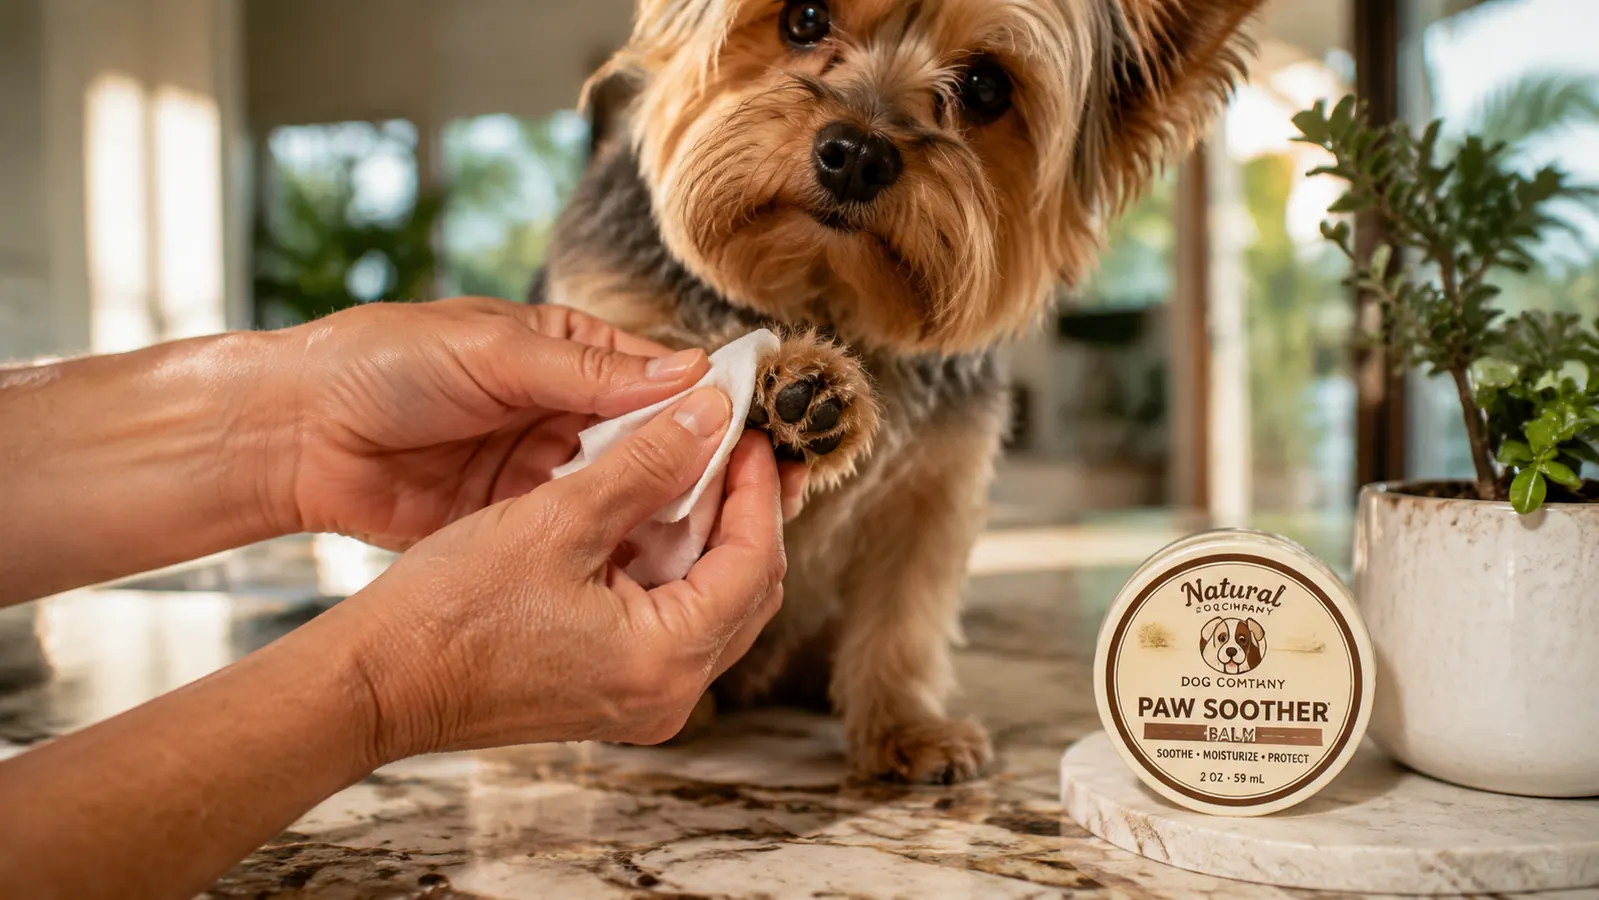
Step 2: Wipe the Paws Clean Before Applying Anything
You would not apply lotion to dirty skin, and the same logic applies to your dog's pads. Before any balm goes on, the paw needs to be clean. I use a warm, damp cloth, the kind you would use on a baby's face. A small terry washcloth held under warm (not hot) running water, wrung until it is damp rather than dripping, works perfectly. Hold the paw gently and wipe each pad surface and the spaces between the toes with slow deliberate strokes. The goal is to remove dirt, dried debris, and any substances the dog may have walked through.
For dogs who walked on surfaces where deicers, fertilizers, or sidewalk chemicals may have been used, a proper paw soak for 30 to 60 seconds in a shallow bowl of plain warm water before wiping is a smarter approach. Those chemical residues can deepen cracking and irritate raw skin if they are sealed under a balm. Penny gets a quick wipe every evening after her sunset walk and a longer paw soak after we have been anywhere near a park that gets fertilized. The wipe takes about 45 seconds per paw and she tolerates it because I always follow it with the balm and a small treat, so she has learned it ends well.
Step 3: Gentle Exfoliation (Only When Needed)
This step is conditional. Not every dog needs it every time. If your dog has a significant buildup of thick, dead pad surface, the kind that feels rough and almost scaly to the touch, a very light exfoliation before applying balm helps the moisturizer penetrate instead of sitting on top of a dead layer. A soft silicone pet brush or a very gentle dog-safe pumice stone used in a circular motion with light pressure for about 30 seconds per pad is all you need. Do not scrub. Do not use anything abrasive. This is not a callus removal; it is a light slough of dead surface cells.
If the pad is already cracked and tender, skip this step entirely. You would not exfoliate a wound, and the same applies here. I only exfoliate Penny's paws about once a week now that her pads are in decent shape. When she first arrived, I did it every other day for the first two weeks because there was so much buildup to work through. After exfoliation, wipe the paw again gently with a fresh damp cloth to pick up the loosened surface material before moving to the balm step.
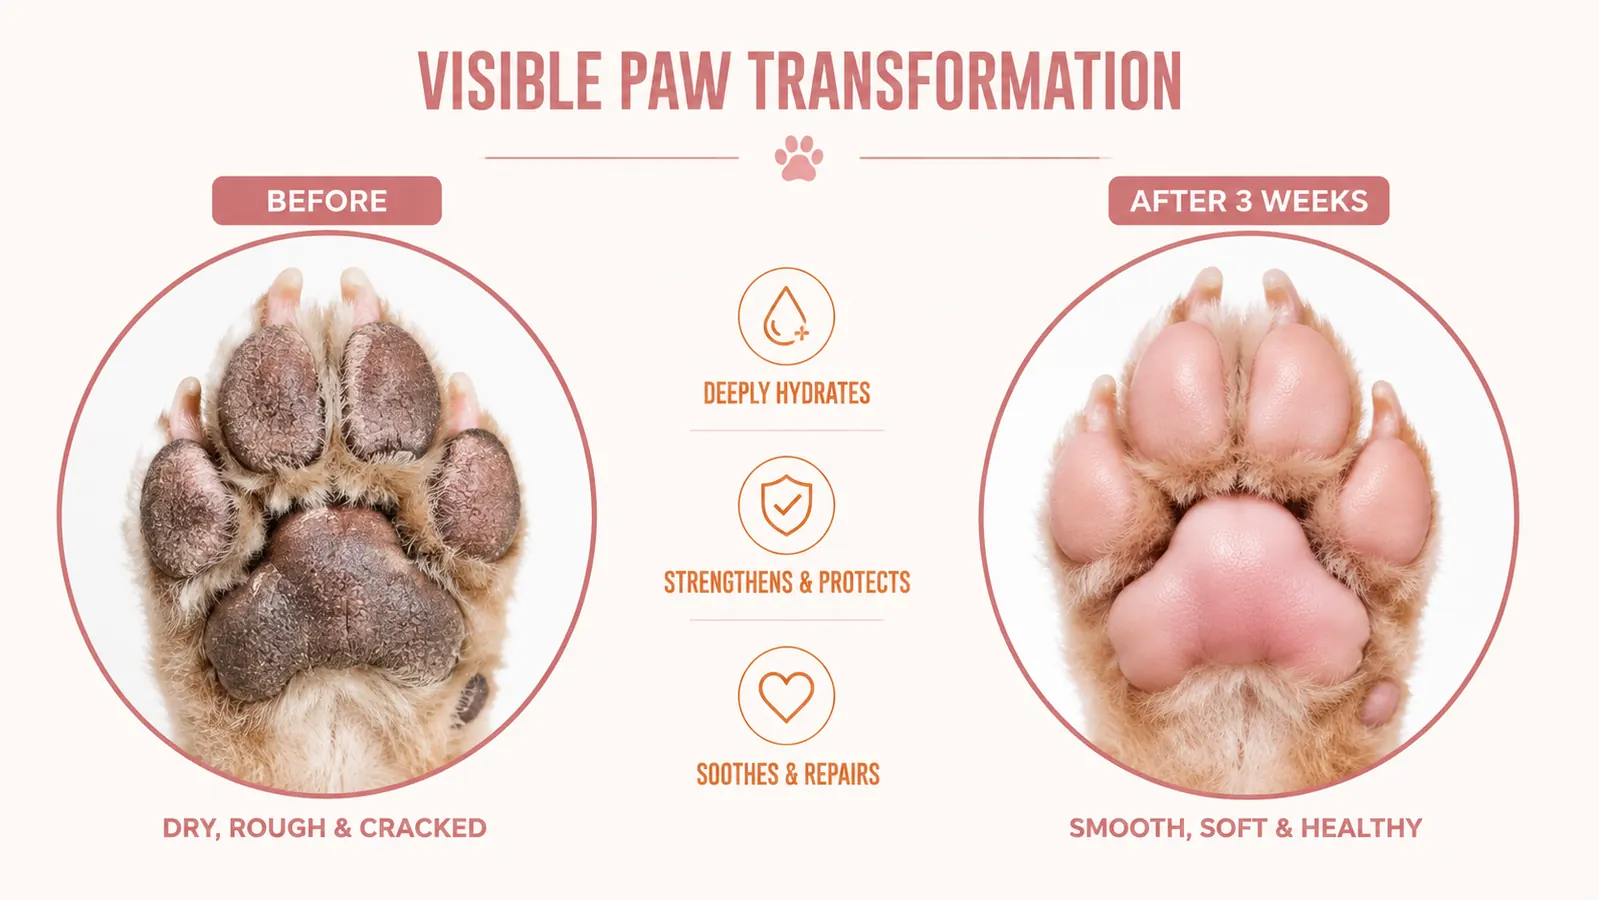
Penny's pads were so dried out she would stop mid-walk and hold one foot up. Three weeks of this routine later, she walks the full block without a pause. The difference is visible when you pick up her paw.
Step 4: Apply the Balm Generously and Massage It In
This is the core of the entire routine, and the product you use here matters. I have tried coconut oil, which smells great but absorbs too quickly and makes the paw slippery before it soaks in. I tried a generic petroleum-based paw wax, which created a barrier but did not actually moisturize the pad tissue underneath. After going through about four options, I landed on Natural Dog Company Paw Soother and it is the one I have stuck with for over a year.
Paw Soother is a plant-based balm built specifically for dry, cracked paw pads. The formula uses shea butter, vitamin E, and a blend of plant oils including candelilla wax, which creates a breathable protective layer while the shea and vitamin E work on the tissue underneath. It is 100 percent lick-safe, which matters enormously for small dogs who will immediately investigate anything applied to their paws. Penny licks her paws constantly, so anything that is not food-safe is a non-starter in this house.
Apply a small amount, roughly the size of a pea for a small dog, to each cracked pad. Use the pad of your finger to work it in with gentle circular pressure, pushing it into the fissures and the edges of the pad where cracking typically starts. For Penny's four paws, the whole application takes about two minutes. You are not just coating the surface; you are actually massaging the balm into the pad tissue. I do this while she is calm and relaxed, usually right before bed when she is already winding down.
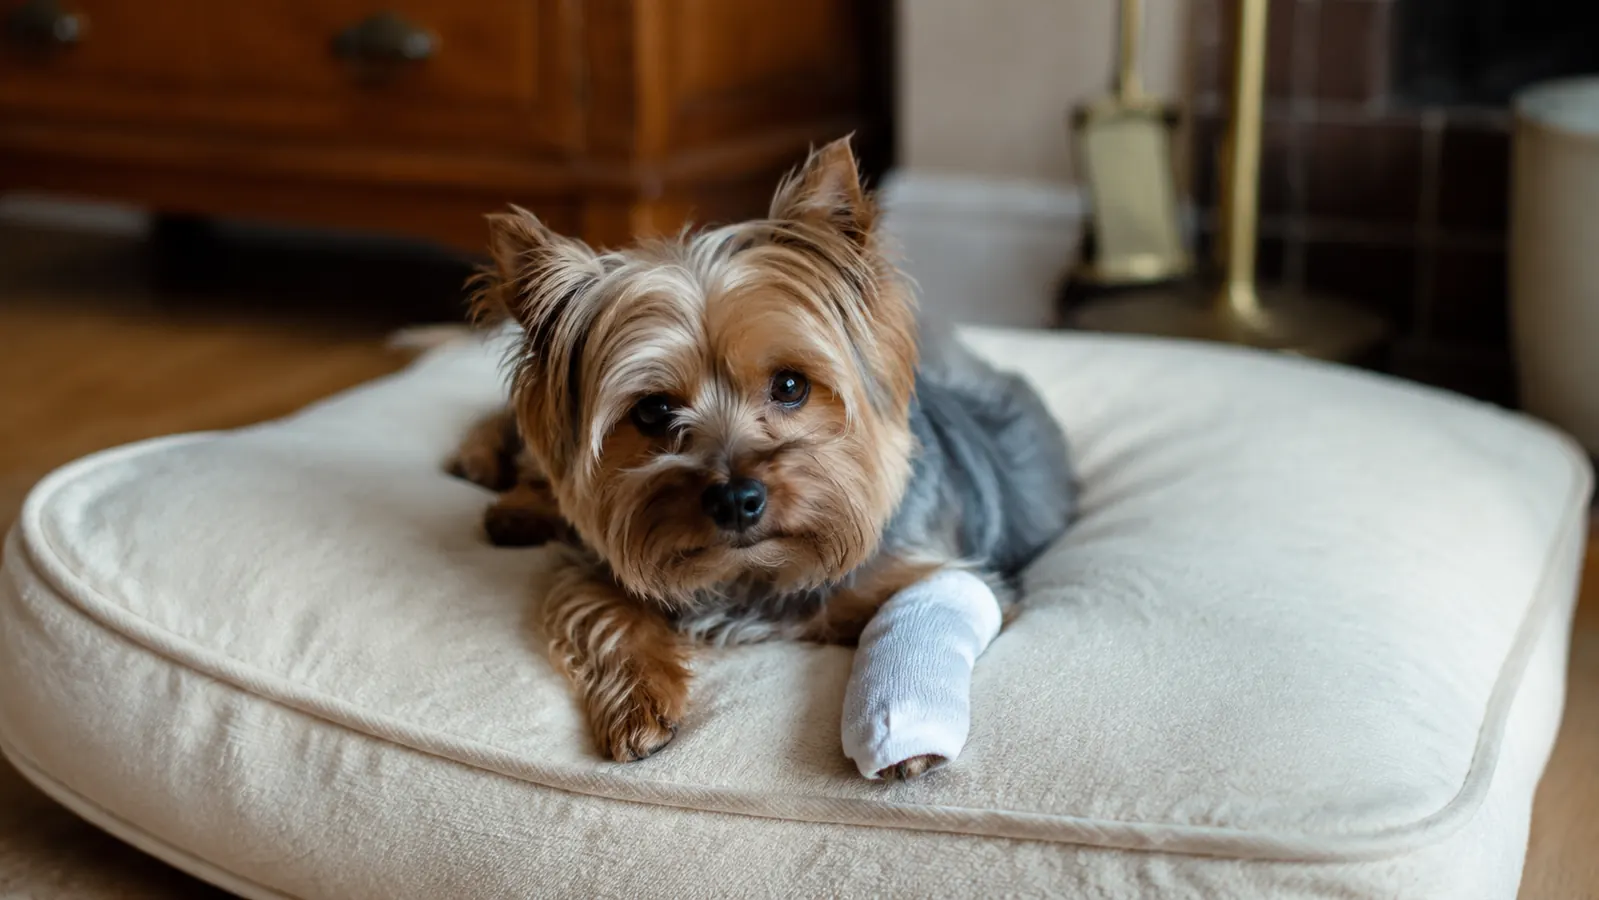
Step 5: Cover with a Sock for Ten Minutes
This step is the one most people skip, and it is the one that makes the biggest difference. A loose-fitting clean cotton sock over the treated paw for ten minutes serves two purposes: it prevents the dog from licking off the balm before it has a chance to absorb, and it creates a mild occlusive effect that drives deeper penetration of the moisturizing ingredients. Think of it the same way humans use gloves over hand cream overnight. You do not need a full overnight commitment, just ten minutes.
The sock does not need to be tight. It should slip on easily and stay in place on its own. A child's size-2 sock works for most small breeds. Penny will walk around in hers with an expression of mild betrayal for about three minutes and then lie down and forget about it. After ten minutes, remove the sock. Any balm residue remaining on the surface is fine to leave. It will continue absorbing and will not make the floor slippery once the initial application has had those ten minutes to set.
If your dog absolutely refuses to tolerate a sock, a longer hold time, fifteen to twenty minutes of keeping them calm and distracted with a chew or a Kong while they sit on their bed, achieves a similar result. The goal is simply keeping licking at bay long enough for the balm to begin working. With a lick-safe formula, the licking will not cause harm, but it will remove the product before it has done much good.
Step 6: Repeat Nightly for Three Weeks, Then Maintain
One application of any balm will not heal cracked paws. The paw pad is dense tissue and it regenerates slowly. Real improvement in moderate dryness typically shows up after seven to ten days of consistent nightly application. Full healing of visible cracks usually takes three full weeks. I remember being impatient around day five with Penny and almost giving up, and then on day eight I picked up her paw and the surface fissures were clearly closing over. By week three, her pads felt like actual soft tissue instead of sandpaper.
Once you reach the maintenance phase, which is the ongoing prevention of recurrence, you can pull back to three or four nights per week unless you are in an especially harsh environment. In Florida, I stay at five nights a week through the summer because the pavement heat never really lets up. If you are in a northern climate and salt season is ending, you might be fine dropping to every other night through spring and summer.
What Else Helps Between Applications
The nightly routine does the heavy lifting, but a few daytime habits extend the results significantly. Walk timing matters more than most people consider. In warm climates, walking early in the morning before the pavement heats up, or after 7pm when the surface has cooled, reduces daily damage dramatically. On especially hot days I will hold my hand on the pavement for five seconds before walking Penny. If it is uncomfortable for my hand, it is too hot for her pads.
A light daily wipe-down after walks removes accumulated heat, chemicals, and grit before they can deepen existing cracks. This does not need to be the full cleaning routine from Step 2; a quick wipe with a damp cloth over each pad takes under a minute and keeps the debris from working into cracks overnight. If your dog has a grass allergy and their paws react after every outdoor trip, booties are worth considering. Penny is not a bootie candidate, she despises them with theatrical commitment, but for dogs who tolerate them they offer real protection.
Diet also plays a supporting role. Dogs who get adequate omega-3 fatty acids tend to have healthier skin and coat overall, including paw pad tissue. If your dog is on a low-quality kibble and chronically has dry paws, talking to your vet about adding a fish oil supplement or switching to a food with better fat profiles may be worth the conversation alongside your topical treatment routine.
When to Stop Home Treatment and Call the Vet
Most mild to moderate cases of dry, cracked paw pads respond to this routine within three weeks. If you have been consistent for three weeks and are seeing no improvement, or if you are seeing the cracks worsen despite treatment, something else is going on. Autoimmune conditions like pemphigus foliaceous, zinc-responsive dermatosis, and hyperkeratosis all present with paw pad changes that look like simple dryness but do not respond to topical care. These are not common, but they exist, and they need veterinary diagnosis.
Any crack that is actively bleeding, deeply fissured enough that you can see interior tissue, warm to the touch, or swollen around the edges should go straight to a vet rather than through this home routine. Infected paw cracks are painful and can spread quickly in dogs who lick, so early veterinary attention is the right call. Home treatment is for the preventable and the recoverable, not for wounds that are already infected or deep.
If you noticed your dog's paws are cracking regularly despite good care, also note whether the cracking follows any seasonal, environmental, or dietary pattern. Keeping a simple log for two to three weeks of when the paws look worst and what preceded it can give your vet meaningful information that accelerates diagnosis.
Ready to start the routine? Paw Soother is the product at the center of Step 4, and it is the one I keep restocked on auto-order.
Natural Dog Company Paw Soother has 56,000 reviews and a 4.4-star rating. It comes in a small trial tin up to a larger travel size. I buy the two-pack to always have a backup. Lick-safe, plant-based, and made specifically for cracked paw pads.
Amazon Check Today's Price on Amazon →